From: A Text-book of Pathology: Systematic & Practical, Volume 2, Part 1, by David James Hamilton, 1894, page 50.
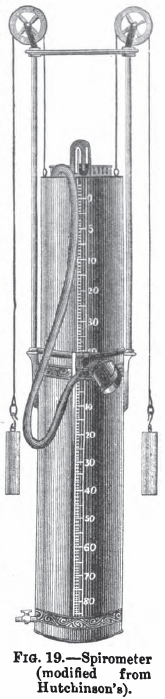
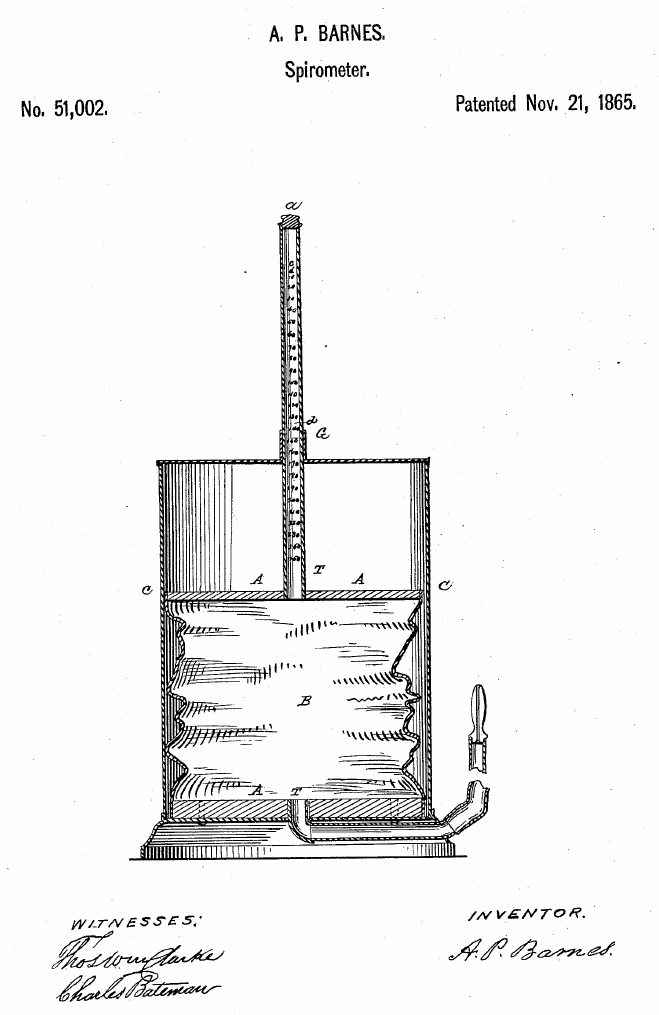
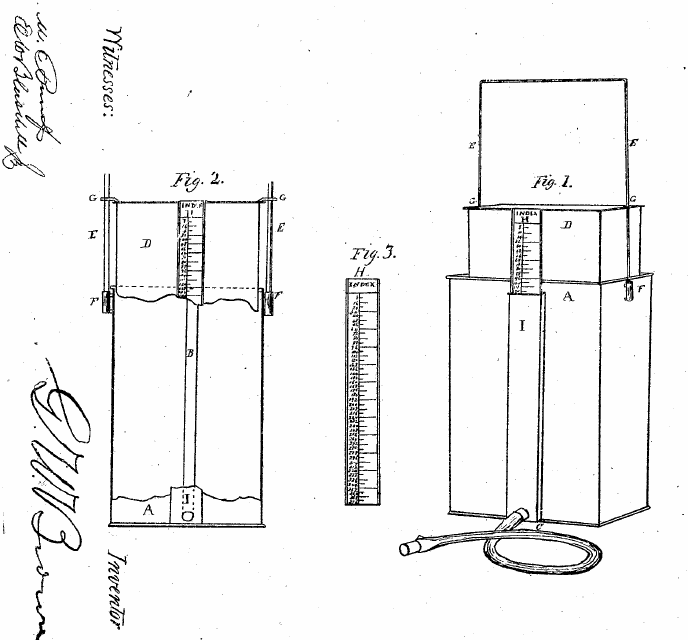
“Means of measuring the Vital Capacity – Hutchinson Spirometer.
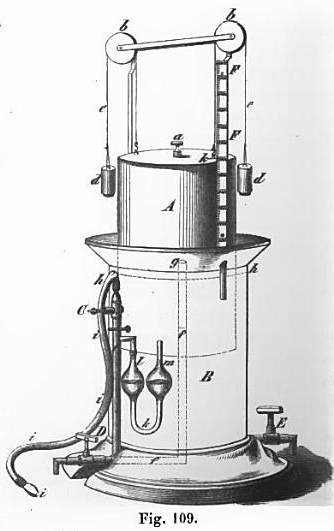
“This instrument consists of a vessel containing water, out of which a receiver is raised by breathing into a tube; the height to which the receiver is raised indicates the volume of the vital capacity.
“To prepare the instrument for use.
“(1) Place the instrument about three feet from the ground on a firm, level table.
“(2) Turn off the water tap (fig. 235, 4) and open the drain tap (5) seen at the bottom of the spirometer.
“(3) Pour water into the spout at the back until it rises behind the slip of glass (3) placed above the air tube.
“(4) Slide the movable index (2) opposite zero on the scale and add water until it is exactly level with the straight edge of this index. Should too much water already be poured into the spirometer, draw off by the tap (4) sufficient to bring the water down to the edge of the index.
“(5) Pour a little colored spirit into the bent tube (6) until it rises in the two legs of this tube about 3-1/2 inches (7).
“(6) Fix the rods (8) into the sockets (9) on each side at the top of the spirometer.
“(7) Place the cross-head (10) upon these rods, so that the name of the instrument faces the operator; then pass the two red cords (11, 11) over the pulleys at each end of the cross-head.
“(8) Turn off the taps (5 and 1), then suspend the counterbalance weights (12, 12) to the red cord.
“(9) Screw the flexible tube (14) on to the extremity of the air-tube above the tap (1).
“(10) The small thermometer (13) may either be attached to the spirometer on the little hook above 13, or, which is better, hung up in any convenient corner of the room.
“The spirometer is now ready for making an observation”